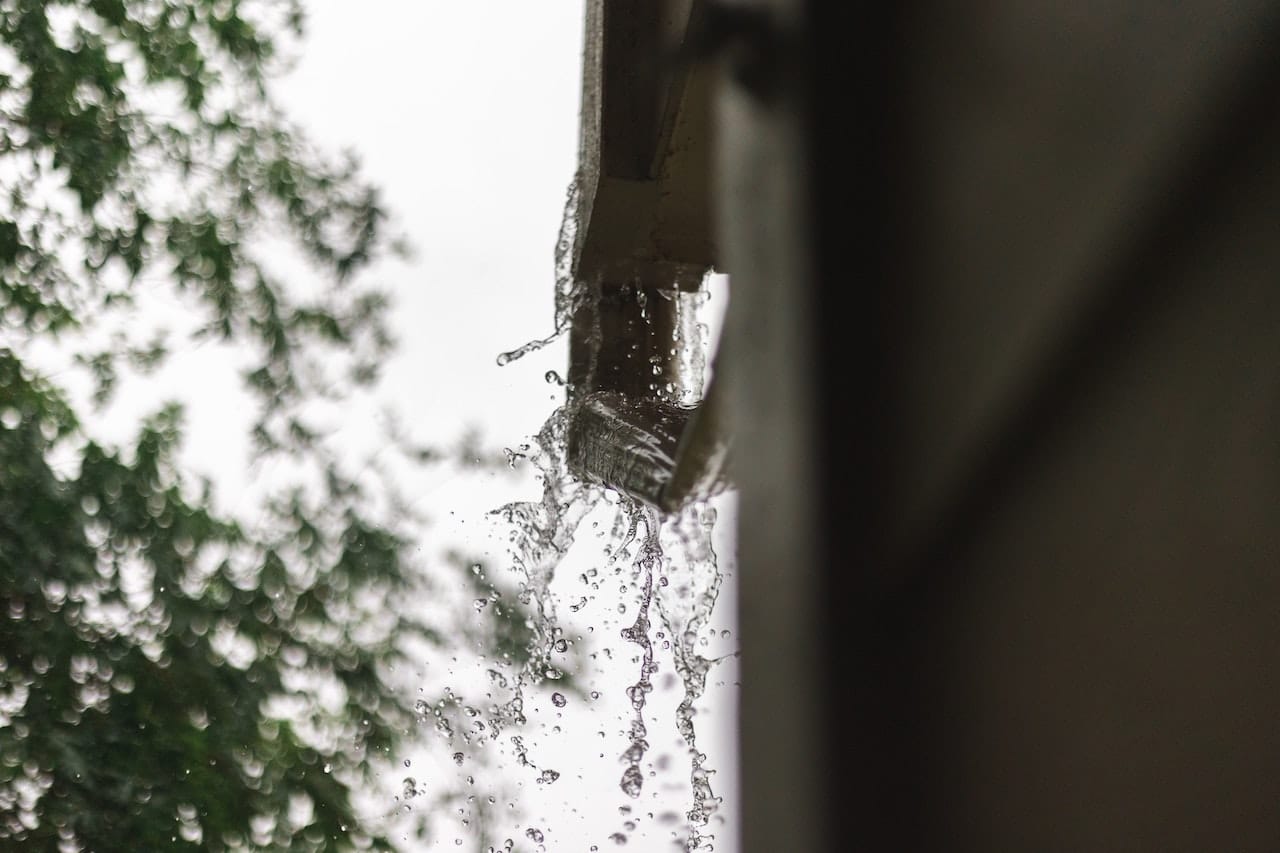
Gutters play a vital role in protecting your home from water damage by effectively channeling rainwater away from the foundation. A well-maintained gutter system safeguards your home against flooding, soil erosion, and potential structural issues.
Unfortunately, gutter leaks can compromise this system, leading to water damage and costly repairs. In this comprehensive guide, we will explore how to identify and repair gutter leaks, helping you maintain the integrity of your home’s gutter system and prevent water damage.
Causes of Leaking Gutters
Understanding the potential causes of gutter leaks can help you take appropriate action to address them. Gutter leaks can result from various factors, including:
- Poor installation: Incorrectly installed gutters may lead to leaks at joints and seams or cause water to flow in the wrong direction.
- Natural wear and tear: Over time, gutters may develop small cracks or holes due to aging and exposure to the elements.
- Corrosion: Metal gutters, particularly steel and galvanized varieties, may corrode over time, leading to leaks.
- Damage from weather or debris: Severe weather, such as high winds or heavy hail, can damage gutters. Additionally, fallen branches or other debris can cause dents or punctures that lead to leaks.
- Clogged gutters: Leaves, twigs, and other debris can clog gutters, causing water to pool and overflow, resulting in leaks and damage to the gutter system.
Identifying Gutter Leaks
Detecting gutter leaks is crucial for addressing them in a timely manner. To identify leaks, follow these steps:
Visual inspection:
- Check for signs of water damage on exterior walls or the foundation. Peeling paint, mold, and mildew can indicate a leak.
- Look for staining, discoloration, or rust on gutters or downpipes, which may signal a leak.
- Examine gutters for sagging, warping, or separation from the roofline, as these issues can contribute to leaks.
Functional inspection:
- Observe gutters during rain or simulate rainfall by running water through the gutters using a hose. This will help you spot dripping water or overflow.
- Inspect downpipes for proper water flow and check for any leaks.
Common leak locations:
- Seams and joints: Leaks often occur where two gutter sections connect.
- Gutter corners: The corners of the gutter system are also prone to leaks.
- Downpipes: Leaks can develop at the connection between the gutter and downpipe or along the length of the downpipe.
- Gutter end caps: These caps seal the ends of gutters and may leak if they become loose or damaged.
Repairing Gutter Leaks
Once you’ve identified a leak, follow these steps to repair it:
Preparing for repair:
- Gather necessary tools and materials, such as a ladder, gloves, roof gutter sealant, a scraper, a wire brush, and replacement parts if necessary.
- Ensure safety measures, such as securing a ladder, using a stabilizer, and wearing non-slip shoes.
Sealing minor leaks:
- Clean the affected area with a wire brush to remove dirt, debris, and any loose paint or rust.
- Dry the area thoroughly before applying the roof gutter sealant.
- Apply a generous amount of roof gutter sealant to the leak, ensuring complete coverage.
- Allow time for the roof gutter sealant to cure according to the manufacturer’s instructions.
Fixing leaks at seams and joints:
- Disassemble the joint or seam carefully, removing any screws or brackets holding the gutter sections together.
- Clean the connecting surfaces with a wire brush, removing any dirt, debris, old sealant, or rust.
- Dry the surfaces completely before applying a generous amount of roof gutter sealant.
- Reassemble the joint or seam, ensuring a tight fit, and allow time for the roof gutter sealant to cure according to the manufacturer’s instructions.
Repairing leaks at gutter corners:
- Remove the corner piece by detaching it from the adjacent gutter sections.
- Clean the connecting surfaces with a wire brush, removing any dirt, debris, old sealant, or rust.
- Dry the surfaces completely before applying roof gutter sealant to the corner piece.
- Reattach the corner piece, ensuring a tight fit, and allow time for the roof gutter sealant to cure according to the manufacturer’s instructions.
Patching holes in gutters:
- Clean the affected area with a wire brush, removing any dirt, debris, loose paint, or rust.
- Dry the area thoroughly before cutting a patch from a compatible gutter material. The patch should be slightly larger than the hole to ensure proper coverage.
- Apply roof gutter sealant to the patch, covering the entire surface.
- Press the patch onto the hole, ensuring a secure fit, and pop rivet patch to gutter.
Preventing Future Gutter Leaks
To prevent future gutter leaks and extend the lifespan of your gutter system, consider the following tips:
- Regular gutter cleaning and maintenance: Clean gutters at least twice a year, or more frequently if you have nearby trees that shed leaves and debris. This will help prevent clogs and reduce the risk of leaks.
- Inspecting and repairing gutters after severe weather events: After storms, heavy hail, or other extreme weather conditions, inspect your gutters for damage and repair any issues promptly to prevent leaks from worsening.
Time is Money
Identifying and repairing gutter leaks is essential for protecting your home from water damage. By being proactive in gutter maintenance and addressing leaks as soon as they appear, you can save yourself time and money on costly repairs.
If you’re unsure about handling gutter repairs yourself or need assistance with more complex issues, it’s always best to seek professional help.
If you live in or near Geelong and need help with gutter cleaning, don’t hesitate to contact us. Our team of gutter experts is ready to assist you in keeping your home safe from water damage. Contact us today to ensure your gutters remain in top condition!
